
The following requirement was placed on the M365 Forum:
I want to have the title show in the calendar view, but have the conditional formatting based on another field.
To explain further, the problem lies in SPO’s modern display that allows relatively limited view formatting without going into the classic list settings. When you have a Calendar on SharePoint Online, the options you get when you click to “edit view” are the start and end dates of your events and what field to display as the title of your event:
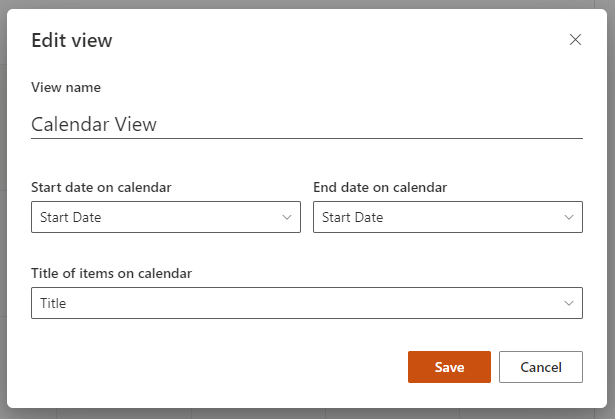
With these options, there is no way to colour-code the events based on a value stored in a different field. One could opt to display that separate field as the title (in the “edit view” configuration above), but that will hardly every be the case.
In order to colour-code the displayed events on your calendar, you will first have to create a column/field with the separate values based on which the colours will be applied and, then, more importantly, you will have to add this column/field to your Calendar view, before you can lastly configure the view to display events in different colours.
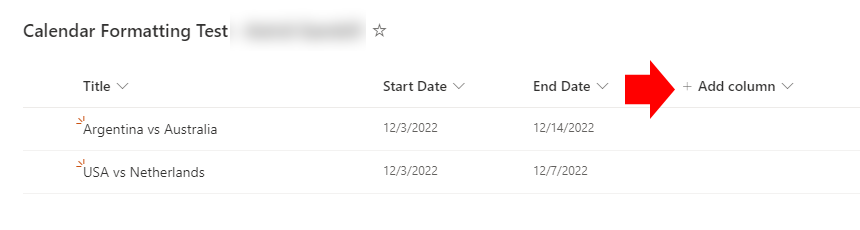
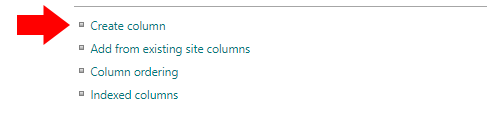
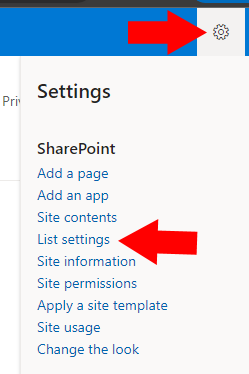
1. Create a new column/field in your calendar. You can do that whichever way is easier to you, by either clicking to add a new column from the Calendar “All Items” view, or by going into the list settings and doing it there:
2. It would make things easier down the road if your available options (hence, the colour-codes you’re looking to apply) are limited. In that sense, I would create a “choice” field and list the available options in that field. For example, if the calendar will be used to display upcoming training events, and we want to colour-code the events based on whether they are free, paid or covered by the company, we could have the three options “free, paid, covered” in a choice field. Let’s say the new choice field is named “Cost”.
3. Once the field has been created, we need to add it to the Calendar view. This can only be done through the “backend”, through the classic SP list settings page. Follow the steps below to do that:


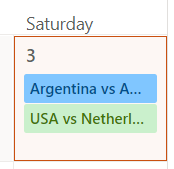
4. Once you have the field added to your Calendar view, click on OK to save your changes (there’s an OK button at the top, just above the section you just edited). This will navigate the browser back to your calendar. All entries will still be displayed in the same colour. However, you now have the option to customise the Title colours based on the new field.
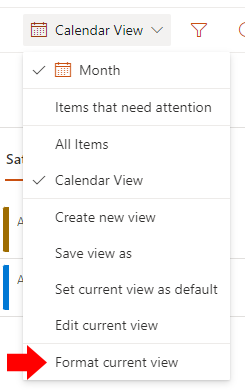
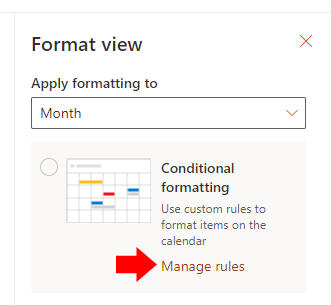
5. You will need to configure individual rules for the separate colours you want to use.
5. This will take you to the Conditional Formatting rules section
6. Notice that there will already be a configuration rule that displays everything in the same colour. Delete that one and create your own.
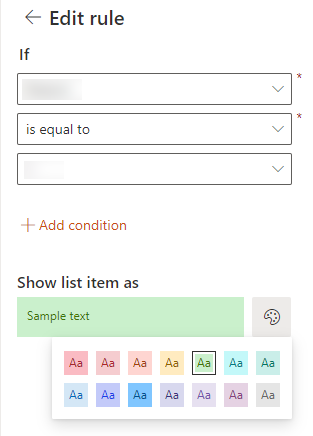
Once you click to add rules, you will be presented with three fields. These are self-explanatory but notice that, in the first drop down, you now get the option to configure your rule based on the new field/column.
Notice that you need to create a separate rule for each colour-code, but that should be OK as long as your values in the new field are not excessively many.
The above will change your Monthly view, but you’ll have to do the same for your Weekly* view, if that’s necessary.
Last thing to note is that, although the new field is not displayed as part of events on the actual calendar, it *IS* displayed in the following cases:
1. When someone double clicks on an event, the field value is displayed in the event listing.
2. When someone clicks to apply filters to the calendar view, the selected values from that fiel are displayed in the available filtering options.
Note
The Weekly view is not available yet (at the time of writing). This is on the roadmap and expected to be available early next year
References
- Microsoft 365 Roadmap – SharePoint: Microsoft Lists: Calendar view – week layout


Right here is the right website for anybody who wishes to find out about this topic. You understand so much its almost hard to argue with you (not that I actually will need to HaHa). You definitely put a fresh spin on a subject which has been written about for many years. Great stuff, just excellent!